Double-click the Paperport
icon.
In the PaperPort dialog, click the Desktop
tab, and then click Scan Settings
in the toolbar.
In the Select a profile area of the Scan or Get
Photo section, select Your Profile.
Place your documents into the scanner, and then
click the Scan button.
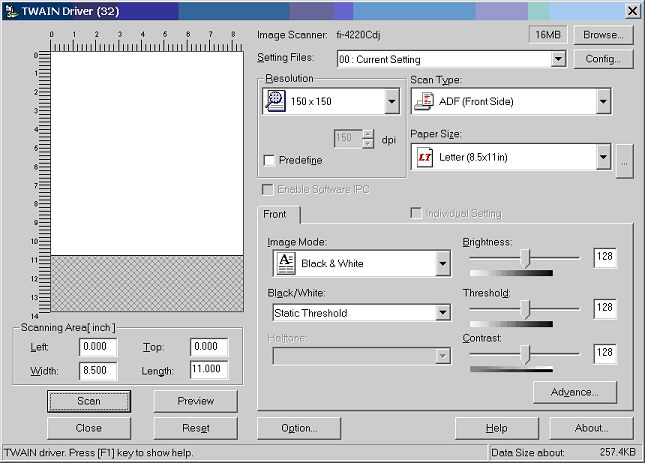
In the TWAIN Driver (32) window, click the Scan button. Your documents will now
be pulled through the scanner and scanned into PaperPort.
After you have scanned your documents into PaperPort,
log into ChartMaker®
Clinical and then you can Access
the Scan Management Dialog,
Preview
the Scanned Documents,
and Insert
a Scan Into a Patient's Chart.