Open a patient's chart note.
In the chart note, click the ALRG
button, and then select No Known Allergies,
No Known Drug Allergies, or Add/Modify Allergies.
If the Add/Modify Allergies
option is selected, go to step 3.
When the No Known Allergies
or No Known Drug Allergies option
is selected the system will automatically update the Face Sheet with a
"No Known Allergies” or “No Known Drug Allergies” entry, the history
tab and the audit trail will also list applicable entries for this event,
and the chart note will indicate that there are no known allergies. You
can skip the following steps if either the No Known Allergies or No Known
Drug Allergies is selected.
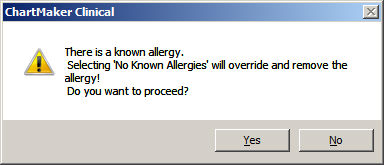
NOTE: If the patient already has allergies configured, and the No Known Allergies or No
Known Drug Allergies option is selected, the system will generate
a warning indicating these allergies will be overridden and removed if
you choose to proceed.
If you click the Yes button
the system will remove all allergy information and the chart note, Face
Sheet, History tab, and Audit Trail will contain applicable entries for
the allergies removed and the new option selected.
If you click the No button,
you will return to the patient's chart.
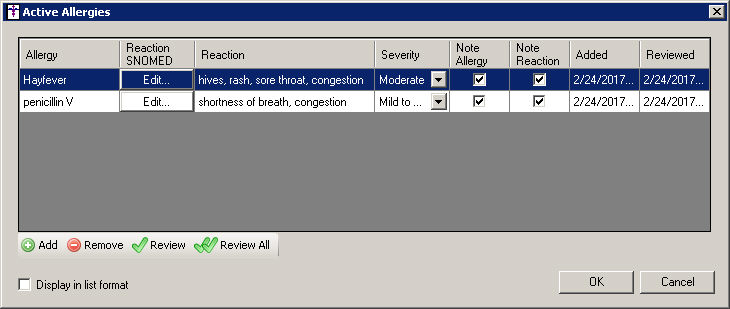
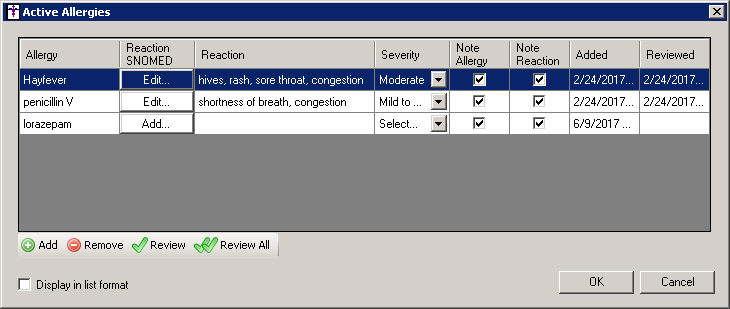
In the Active Allergies dialog, click the Add button.
In the Select Allergy dialog, select the Allergy Type (Drugs, Groups, or Ingredients)
for the type of allergen you want to search for, then you can select the
applicable Search Type (Contains,
Equals, or Starts With), then in the description field type a few letters
of the allergy you want to add, and then click the Search
button. When searching for an allergy you can be as specific or as vague
as you like, however, the search results will be determined by the specificity
of your search.
The system will return applicable drugs, drug
groups, and ingredients that match the search criteria. You can change
the Allergy Type to Drugs to view
specific drugs, Groups to view
drug groups, or Ingredients to
view specific drug ingredients, and the system will display the applicable
allergens based on type selected.
Once the applicable allergen has been located,
highlight that Allergen, and then
click the Select button.
NOTE: Once you click the Select
button, if the patient had No Known Allergies or No Known Drug Allergies
configured, those entries will be automatically be removed and updated
in chart note. Likewise, applicable entries will be made in the patient's
Face Sheet and History
tab, and the Audit Trail will also be updated with an applicable entry.
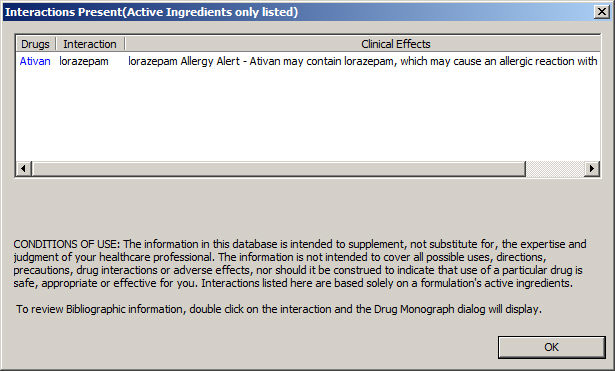
If there are any interactions present with this
allergen and any drugs that are currently prescribed, this system will
generate an Interactions Present warning that will outline any possible
adverse interactions, thereby allowing you to discontinue a drug or change
the drug being prescribed. When finished viewing the interaction information,
click the OK button.
NOTE: You can also view any drug to allergy interactions for any medications
that have been, or are currently, prescribed for the patient by clicking
the  button to
the left of the applicable medication in the patient's facesheet, and
then clicking Medication Interactions
(RxINT). If there are any interactions or warnings, an Interactions
Present dialog will appear outlining any possible adverse interactions.
button to
the left of the applicable medication in the patient's facesheet, and
then clicking Medication Interactions
(RxINT). If there are any interactions or warnings, an Interactions
Present dialog will appear outlining any possible adverse interactions.
Once the Allergy has been added, click the Add button in the Reaction
SNOMED field to configure applicable SNOMED codes for any reactions that
the patient has to the allergen.
In the Select SNOMEDs dialog the system will default
the typical allergic reactions and their accompanying SNOMED codes. You
can check the applicable reactions as needed. If you check the Reaction
option, all of the reactions will be selected. If you do not see the applicable
reaction or SNOMED code, you can click the Search
button and search for specific SNOMED codes as needed.
When finished selecting the applicable SNOMED codes, click the OK button.
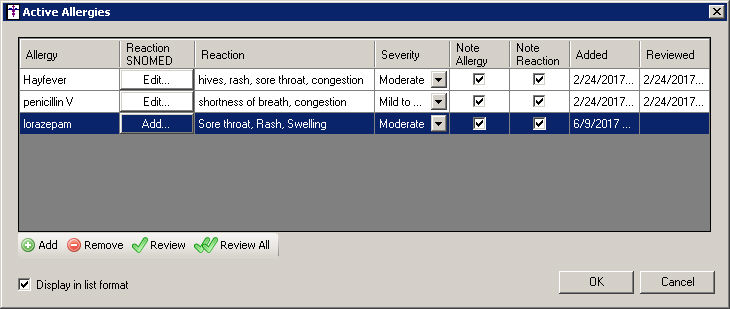
If SNOMED codes were selected in the Reaction
SNOMED field for the allergy, the descriptions for the selected SNOMED
codes will automatically be added, or appended if there is existing information,
to the corresponding Reaction
field. You can enter or modify the information in this field, as needed.
Select the Severity
of the allergic reaction (Fatal, Life threatening severity, Mild, Mild
to moderate, Moderate, Moderate to severe, and Severe).
Check the Note
Allergy option if you want the allergy to print in the chart note.
Check the Note
Reaction option if you want the reaction to print in the chart
note.
If the allergy information has been reviewed,
click the Review button, or, if
you are reviewing all of the applicable allergens, click the Review
All button. The date of the note will appear in the Reviewed column
for reviewed allergens. Likewise, when allergies are reviewed the review
date appears in the Face Sheet beside the allergy and the History tab
is updated with this information.
Check the Display
results in list format box if you want the allergy information
to appear as a list instead of in paragraph format.
When finished, click the OK button. The allergies will only be added to the patient's chart after the OK button has been clicked. If you close out of the dialog, or click the Cancel button, the new entries will not be added to the patient's chart.