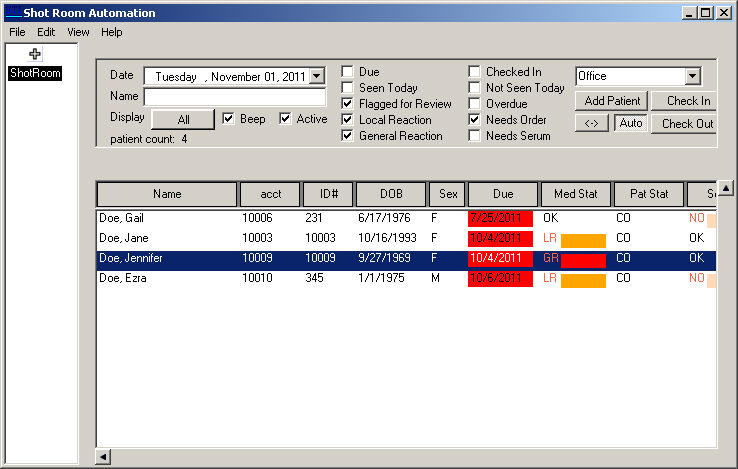
In the Shot Room Automation dialog, locate and
double-click the patient you want to configure a photo for.

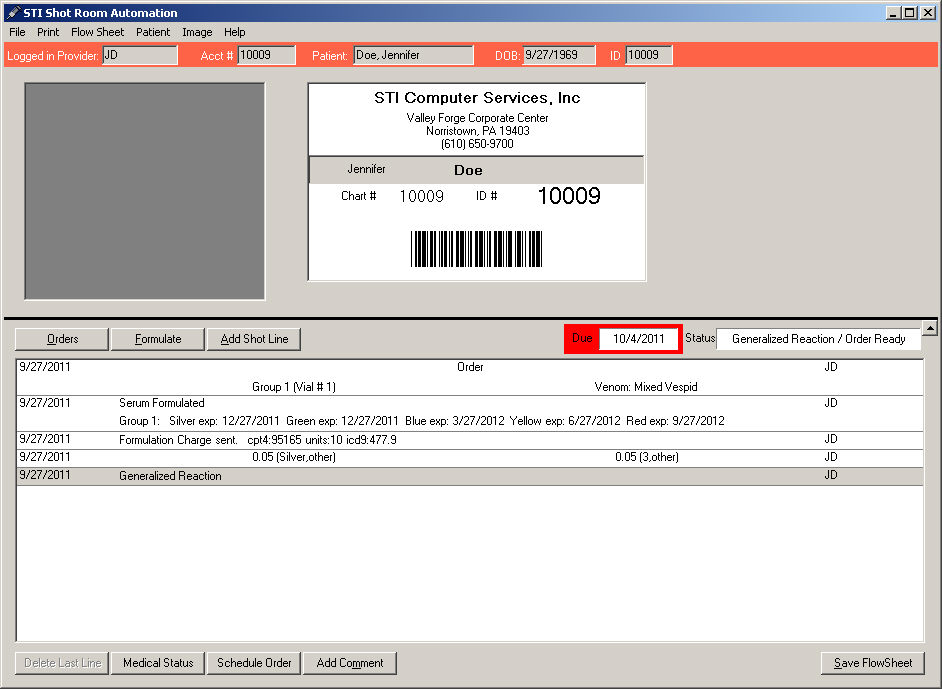
Once in the patient's shot room flow sheet, you
can configure the patient photo.

To configure the patient photo via dragging, open Windows Explorer,
locate find the photo file, and then drag it onto the patient photo display
on the flow sheet page.
To configure the patient photo via copy and paste, locate the photo
or photo file, copy it (i.e., right-click the image or file and then click
Copy), and then in the shot room
flow sheet, click Image > Paste.
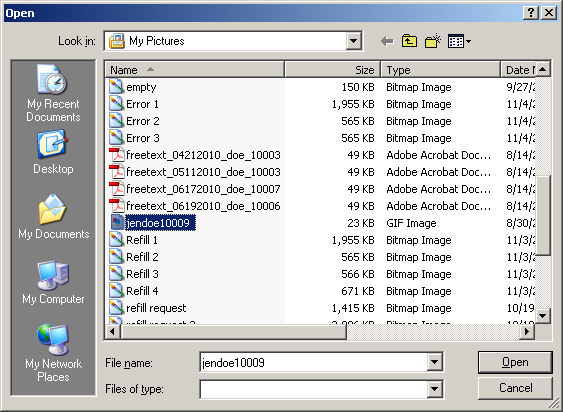
To configure a patient photo by loading an image file, click Image > Load in the shot room flow
sheet. In the Open dialog, browse to the image file, highlight the applicable
file, and then click the Open
button.

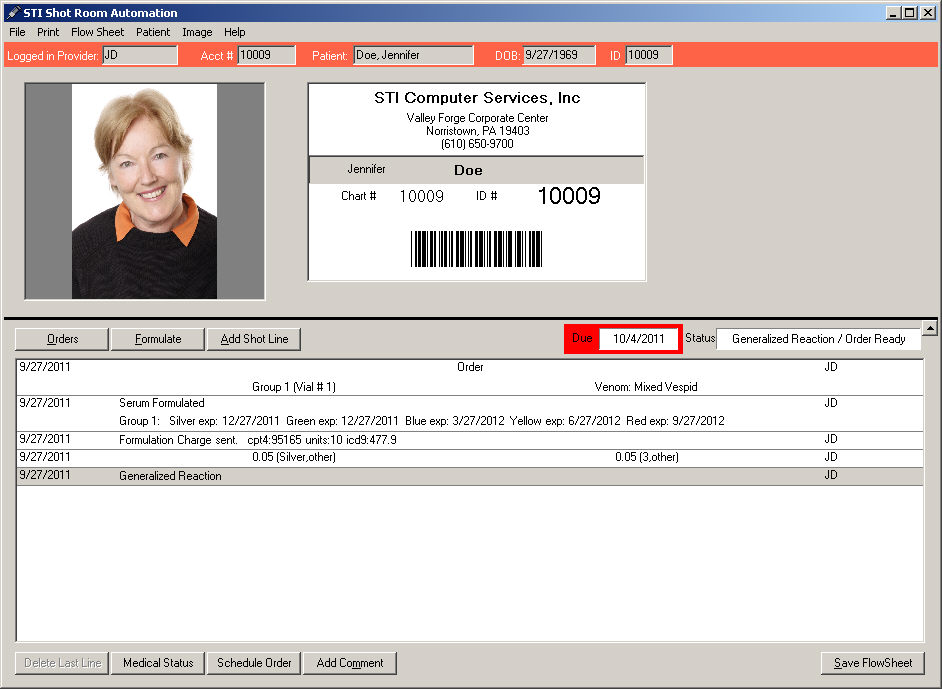
The patient photo will then appear in the patient
photo display field. Click the Save FlowSheet
button.
NOTE: If the flow sheet is not saved, then the image will not be saved
to the patient's flow sheet.
