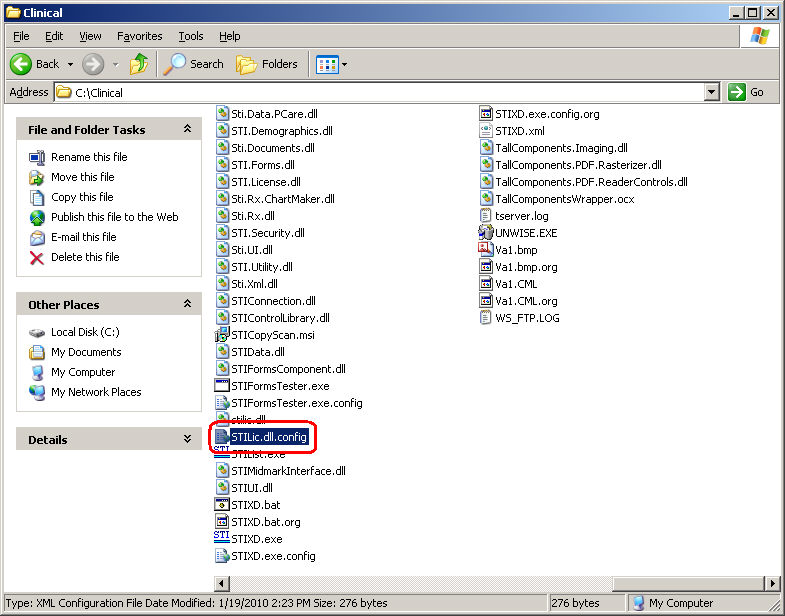
In the Clinical installation directory, locate
the STILic.dll.config file, and
open this file in Notepad.
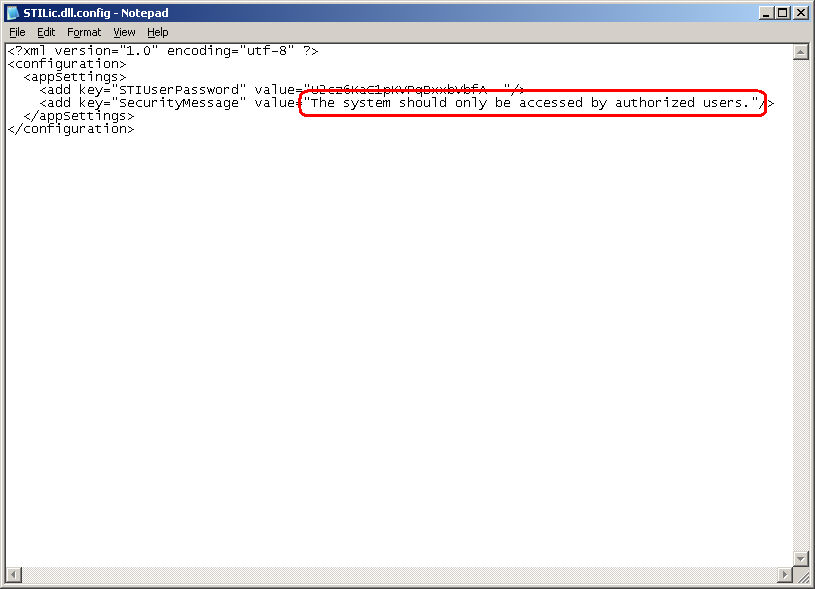
In Notepad, you will see an <add
key="SecurityMessage" value=""/> entry.
In between the quotation marks after the value, enter your banner
message.
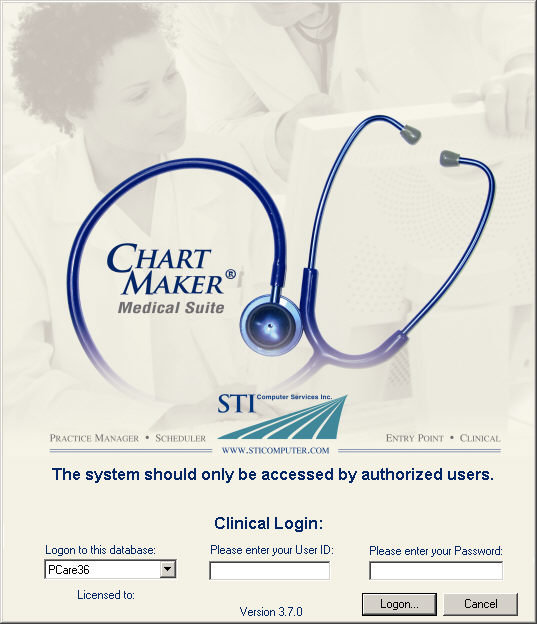
For example, we have entered, "The
system should only be accessed by authorized users.", in the
figure below. Whatever message is contained between these quotation marks
is what will appear in the Login screen.
When finished, click File
> Save, and then close out of Notepad by clicking File
> Exit.
The next time you access ChartMaker®
Clinical, the Login screen will contain the security banner.