Click Chart >
Audit > EPCS Audit Trail and Drug Log.
NOTE: If a patient's chart is opened you have the ability to view the
EPCS Auditing dialog for that specific patient only by clicking Chart > Audit > EPCS Audit Trail and
Drug Log. The Audit Trail tab will default and only display audit
events for that patient. You can then manipulate the filter and query
options described below for that specific patient.
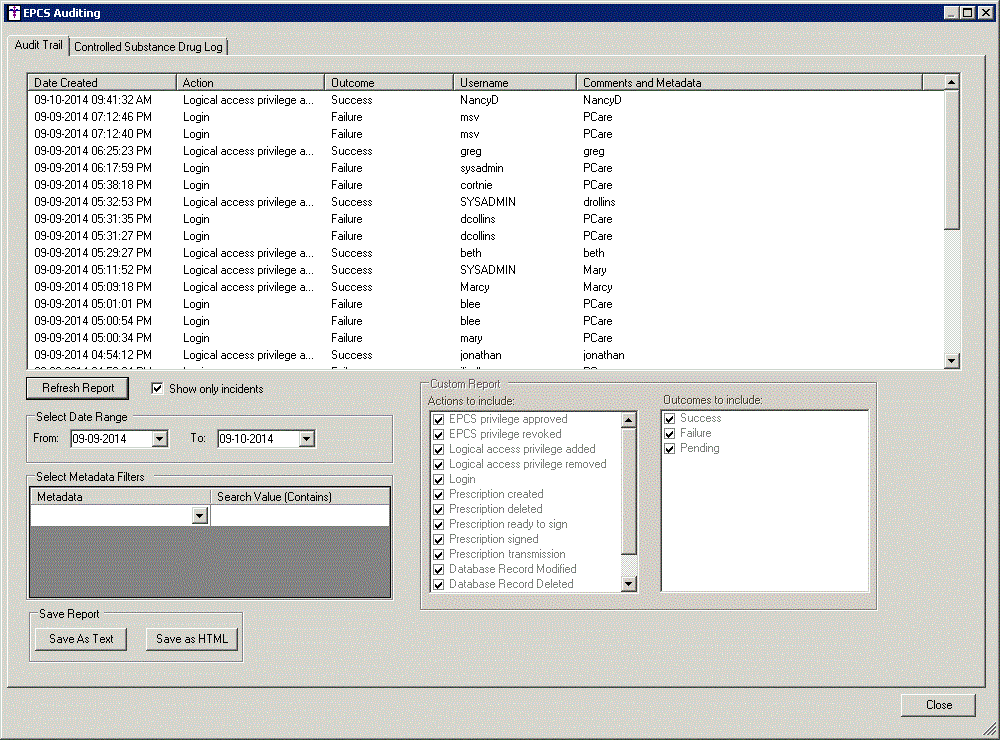
The EPCS Auditing dialog will open to the Audit
Trail tab, the Show only incidents
option will be checked, and it will default to a date range of yesterday
to today's date, and display any incidents that have occurred. At the
bottom of the screen are the fields that allow you to filter the data
as needed. Uncheck the Show only incidents
option if you would like to activate the Custom Report options.
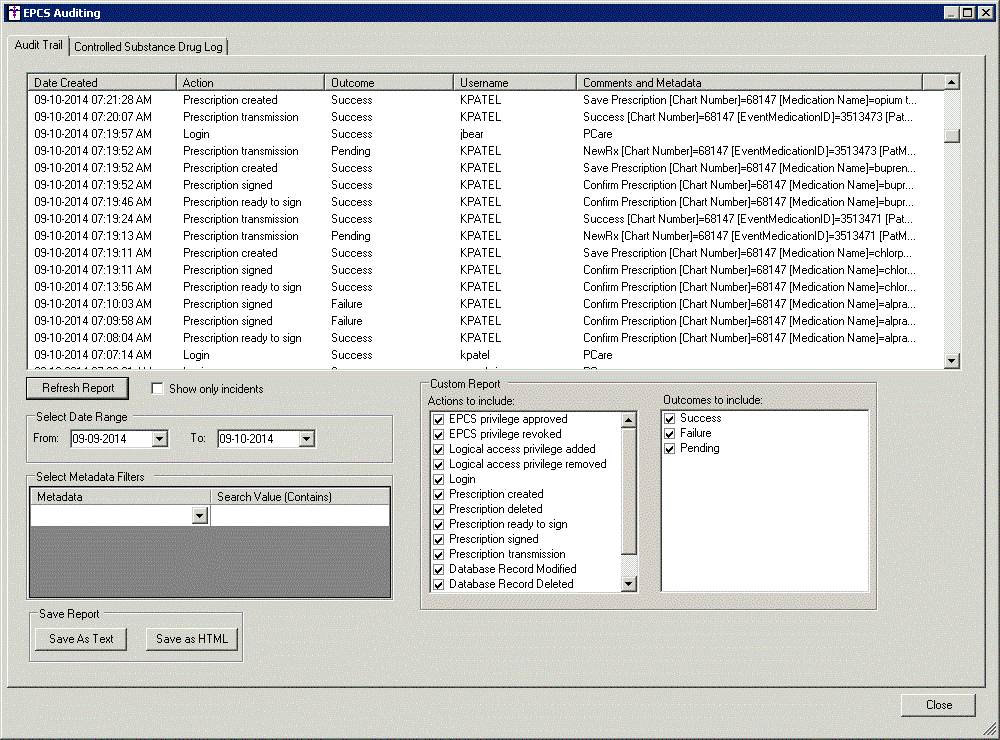
Modify the From
and To dates if you want to view
audit events for a particular date range.
The Metadata and Value fields allow you to select
addition data items to filter on. Select a Metadata
item, and enter a corresponding Value
for that item, if applicable.
In the Custom Reports section check or uncheck
any Actions to include or Outcomes to include as desired.
When finished configuring the filter options,
click the Refresh Report button
and the applicable audit information will be displayed.
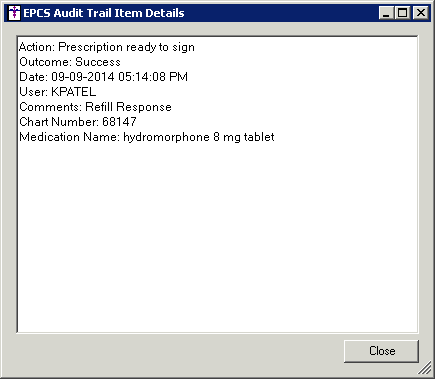
You have the ability to double-click any of the
audit items above and an EPCS Audit Trail Item Details dialog will appear
outlining the details of that audit event. Click the Close
button when finished.
To save the configure audit information to a tab-delimited
text file, and thereby have the ability to print it, click the Save
As Text button. In the Save As dialog, browse to where you want
to save the file (it defaults to Desktop), and then click the Save
button.
To save the configured audit information to a HTML file, click the
Save as HTML button. In the Save
As dialog, browse to where you want to save the file (it defaults to Desktop),
and then click the Save button.
To view the drug log for controlled substances,
click the Controlled Substance Drug Log
tab.
The Controlled Substance Drug Log will default
to the Report Archive tab. Here
you can click the Previous Reports
button to view archived drug logs (those generated by others as well as
system generated daily and monthly logs), or you can click the New
Report tab to run a new report.
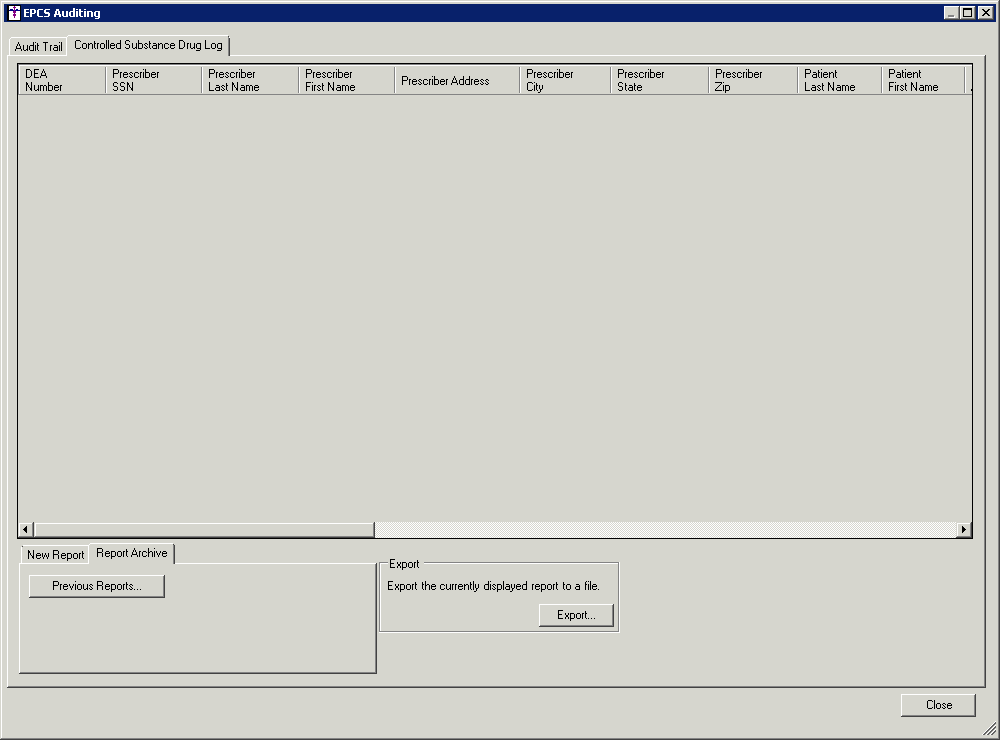
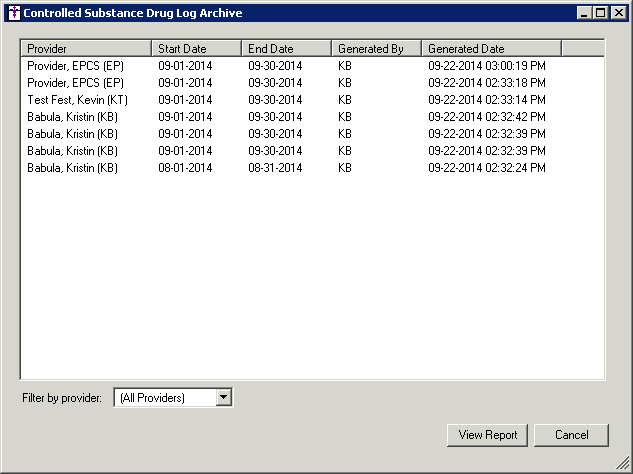
After the Previous Reports button has been clicked,
the Controlled Substance Drug Log Archive dialog will appear showing an
archive of all of the drug logs created along with the system generated
daily and monthly drug logs. You have the ability to view drug logs for
a specific provider by selecting a provider in the Filter
by provider field. To view a specific drug log, highlight the Drug Log you want to view, and then
click the View Report button.
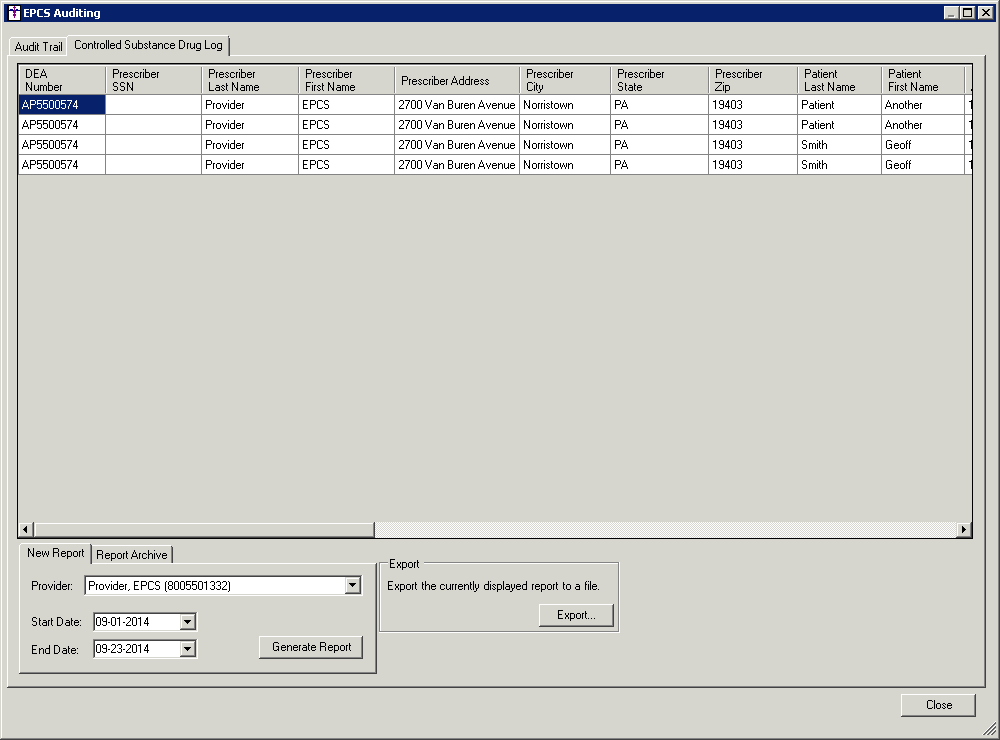
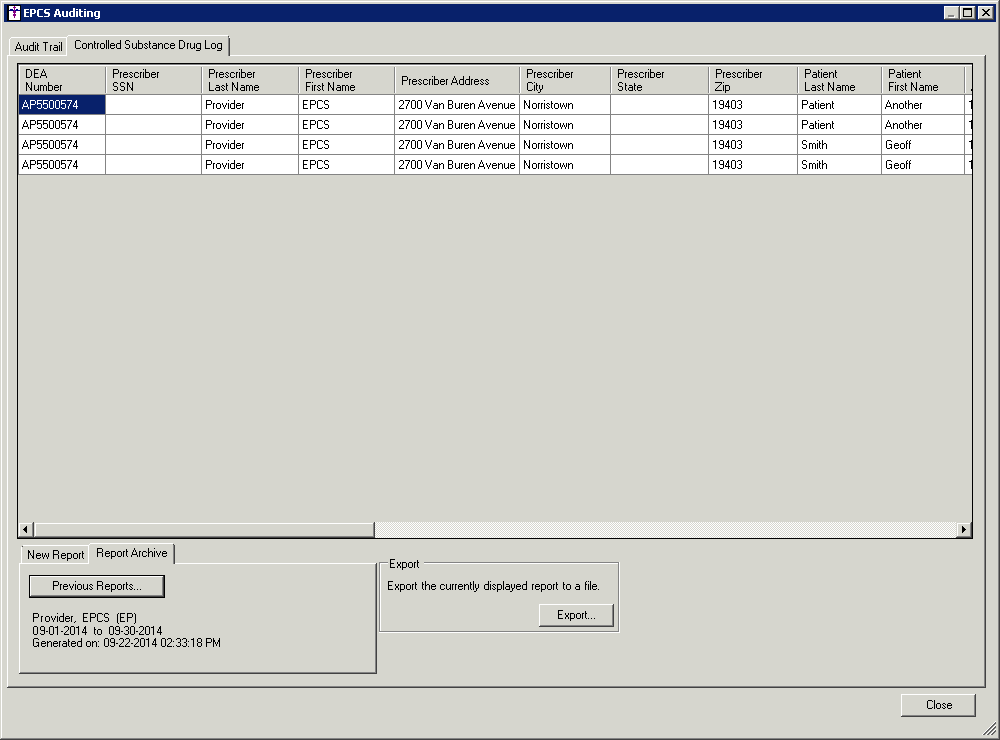
The EPCS Auditing dialog will open to the Controlled
Substance Drug Log tab and display the applicable drug log that was selected.
Click the Export button to generate
a CSV file for your records. Click the Previous
Reports button to go back to the Controlled Substance Drug Log
Archive dialog to select a different report, or click the New
Report tab to run a new report..
To run a new controlled substances drug report,
click the New Report button.
Select the Provider
that you want to run the drug log for, then select the Start
Date and End Date, and
then click the Generate Report
button.
The results will be displayed above. Click the
Export button to generate a CSV
file for your records.
Click the Close
button to exit the EPCS Auditing dialog.
