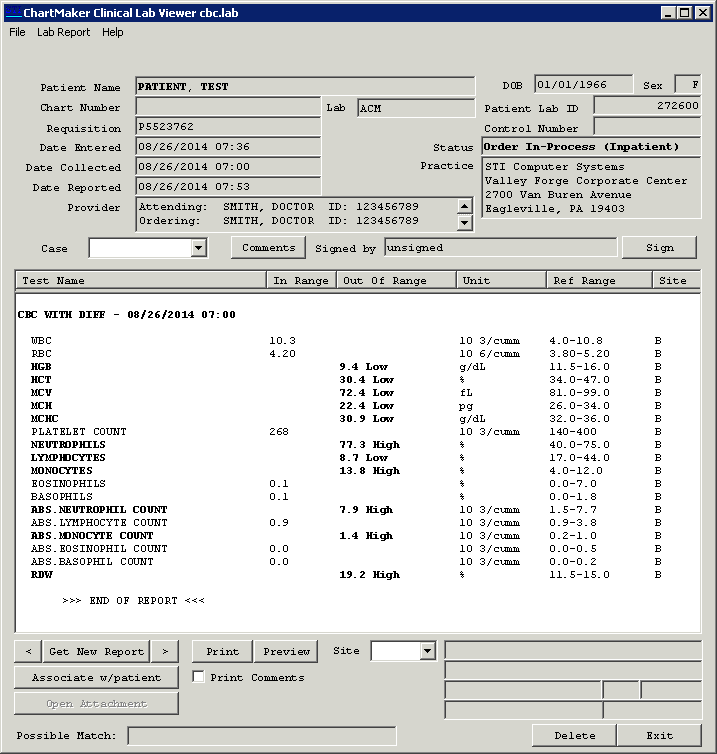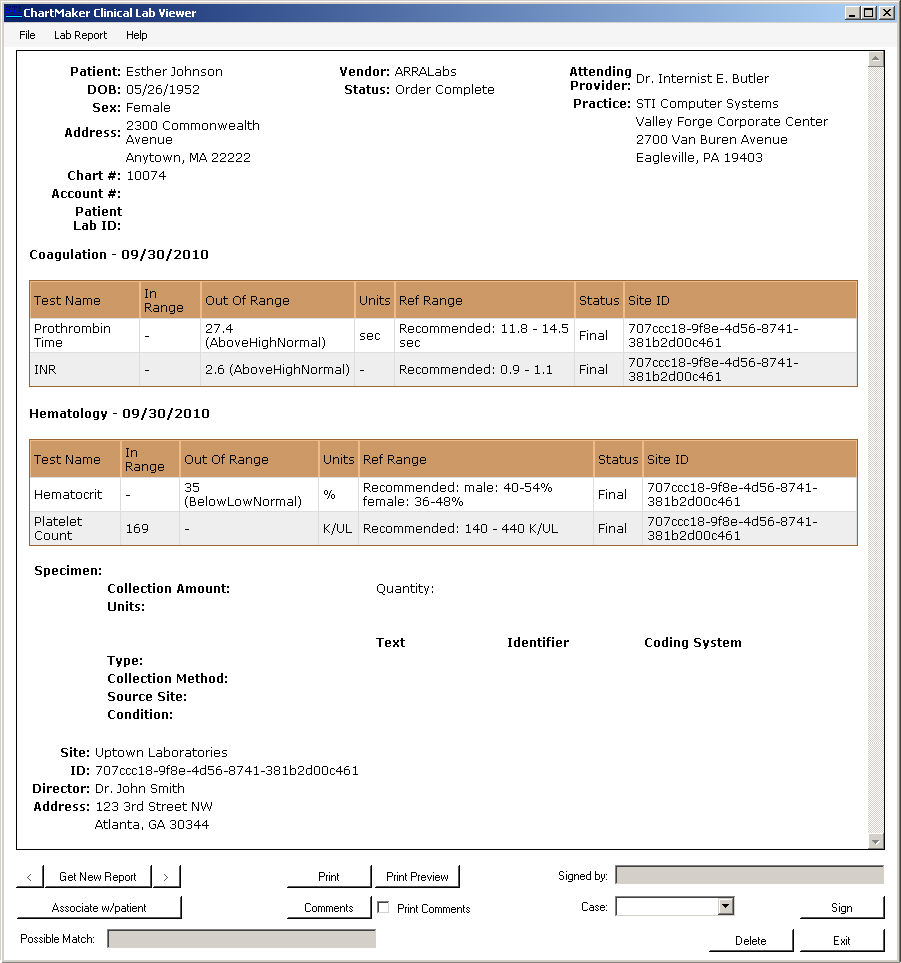
Whenever a lab report does not contain either the correct provider information or patient information, the lab report will appear in the user's To-Do List who has the Lab Notification privilege only. The lab report can then be assigned to a patient in the Lab Viewer.
To view a lab report, double-click on the item in the To-Do List and the lab report will open in the Lab Viewer. In the Lab Viewer you can perform the following functions.
Add an Annotation
via the Annotation button: By clicking this button the provider
can enter any desired annotations and have it saved with the lab. Additional
annotations can be added. Lab reports that do not have an account number
must be associated with a patient before annotations can be added.
Sign a Lab Report:
The Sign button allows the provider to sign the lab report, indicating
that the report has been seen by the physician. By
utilizing the Sign function the
system will remove the lab report from all To-Do Lists, therefore,
only use this if you are ready to have this lab report removed from all
To-Do Lists.
Get a New Report:
The Get New Report button and accompanying arrow buttons allow you to
view all lab reports for this order. If you have opened a lab report that
is unassigned, the arrows will allow you to scroll between unassigned
labs. When you click the Get New Report button the system will open the
next unassigned lab report.
Associate the
Lab Report with a Patient: The Associate With Patient button allows
you to select the appropriate patient to whom this lab report belongs.
The Possible Match field will show likely candidates, or you can run a
search of your patient list by last name, social security number, or chart
number.
Preview the Lab
Report: By clicking the Preview button you can preview what the
printed lab report you are currently viewing will look like before actually
printing. If you want to include any comments that were added be sure
to check the Print Comments option.
Print the Lab
Report: By clicking the Print button you can print the lab report
you are currently viewing. If you want to include any comments that were
added be sure to check the Print Comments option.
Select a Site
for the Lab Report: There are times when a particular lab will
have various site locations. The Site field will display the site location
from which lab this was run and you are able to select different sites
to view. If there is only one site, or if no site code was available,
this field will appear blank.
Delete a Lab
Report: The Delete button allows you to delete the current lab
you are viewing. This is generally used for deleting preliminary labs
when the final report is complete and has been viewed.
Exit the Lab Viewer: Click the Exit button to close out of the lab viewer.

HL7 2.5.1 Lab Viewer:
