Open the scanned document.
Click Edit >
Edit Image.

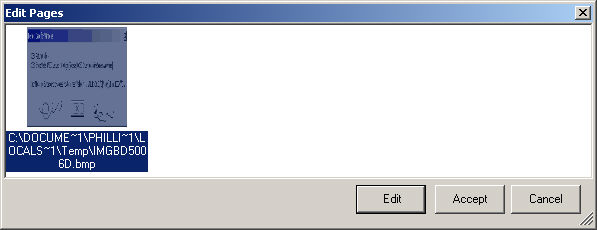
In the Edit Pages dialog, highlight the image you want to edit, and then click
the Edit button.
The image will open in MS Paint and your cursor
will now be a pencil. Sign or initial the image as needed. NOTE:
If this is your first time editing an image, you will be prompted to choose
a program as the default for this function. Choose MS Paint.
Click File >
Save to save the modification, and then click File
> Exit to close out of MS Paint.
In the Edit Pages dialog, click the Accept
button to make the modification permanent.
To sign the note, click the Sign
button in the toolbar, or click Note
> Sign.

Save and Close the chart.