Logitech QuickCam Software Usage Instructions

The following instructions provide a quick method of setting up and taking pictures with the Logitech QuickCam camera. This is not a substitute for the documentation that came with the camera, but rather a supplement, created for optimization when using the QuickCam in conjunction with the Clinical application. Use the following steps to set up and take pictures with your Logitech QuickCam camera.


Logitech QuickCam Setup

  1. Double-click the Logitech QuickCam icon on your desktop to access the Logitech QuickCam software.

    NOTE: You can also access the Logitech QuickCam software by double-clicking the icon in your system tray.


  2. In the Logitech QuickCam menu bar, click on the Interlocking Gears button to change the default folder that pictures are stored in, and other settings.


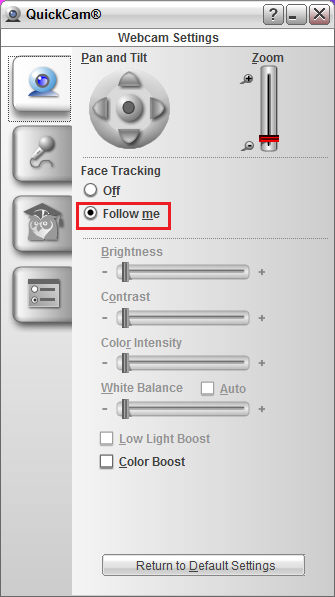
  3. In the Webcam Setting dialog, click the Follow Me radio button. This will tell the camera to center on the person’s face that is sitting in front of the camera and helps produce a better picture.


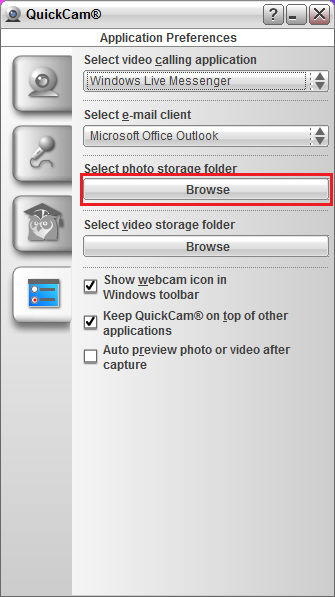
  4. To change the location of the default folder that pictures are stored, click the Application Settings option (lab tab on the left), and then click the Browse button under the Select photo storage folder heading.


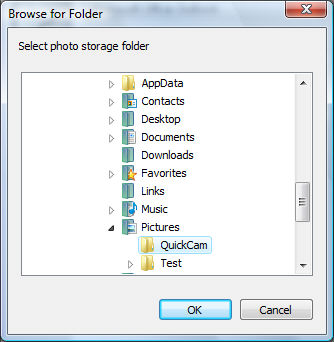
  5. You can browse to another folder to set a new default folder. When you take pictures with your camera, they will be placed in this folder as shown below.

    NOTE: By default the software is configured to store you pictures in the My Pictures folder (for Windows XP), or the Pictures folder (for Windows Vista). This location is recommended for use with the Clinical application.


  6. When finished, click the OK button, and then exit the Application Preferences dialog.


Taking Pictures with your Logitech QuickCam

  1. Double-click the Logitech QuickCam icon on your desktop to access the Logitech QuickCam software.

    NOTE: You can also access the Logitech QuickCam software by double-clicking the icon in your system tray.


  2. In the Logitech QuickCam menu bar, click on the Quick Capture button.


  3. In the Quick Capture dialog, the main window will display what the camera is currently pointing at (the Dewey Beach cup). Pictures already taken and located in the default picture folder are shown in the Gallery at the bottom. Clicking the Select Image Size drop-down list, and then select (VGA) 640x480. This is the recommended size for use with Clinical.
     

  4. Position the camera so that you can see the subject in the main image window, and then click the Take Photo button. The photo will then be placed in the default folder.